
So, you’re thinking about getting a goods hoist installed? That’s a smart move, especially if you’re dealing with moving heavy items regularly. You’re probably wondering what the whole process actually looks like. Well, the short answer is: it’s a carefully planned and executed project involving site assessment, fabrication, and installation by trained professionals.
It’s not just about dropping a machine in place; there’s a good amount of prep work and specific steps to make sure it’s safe, efficient, and fits your needs perfectly. Let’s break down what you can realistically expect from start to finish.
This is where the whole thing really kicks off, and it’s crucial. Before anyone starts talking about concrete or lifting chains, there’s a lot of information gathering.
Understanding Your Needs
First off, the hoist company will want to know exactly what you plan to use the hoist for. This isn’t just casual chat; it dictates everything that follows.
What are you lifting?
Think about the heaviest item, the most frequent loads, and the general size and shape. Are we talking pallets of bricks, large machinery, or maybe just boxes of inventory? This will influence the hoist’s capacity and platform size.
How high do you need to lift?
The required lifting height is a major factor. This will determine the mast length and any associated structural requirements.
How often will it be used?
A hoist used a few times a day has different demands than one operating constantly. This impacts motor choice, durability considerations, and potentially the type of control system.
What’s your operational flow?
Where will the hoist be located on each floor? How will materials be moved to and from the platform? Visualizing this helps avoid bottlenecks later on.
The Site Survey: The Technical Deep Dive
Once they have a good idea of your operational needs, a technical expert will visit your site. This is where they get their hands dirty, metaphorically speaking.
Structural Integrity Assessment
They’ll be looking at the existing structure of your building. Can it support the weight of the hoist and its operational loads? They’ll assess floor slabs, wall strength, and any overhead beams.
Space Availability and Access
Is there enough space for the hoist itself, including its footprint and any required clearances? They’ll also check for access routes for delivery of the equipment and for installation crews.
Power and Utilities
Your hoist will need power. They’ll confirm the availability of suitable electrical connections and assess the existing electrical infrastructure to ensure it can handle the hoist’s power draw.
Safety Considerations
They’ll be looking for potential hazards, like overhead obstructions, uneven ground, or areas with high foot traffic that might need temporary barriers during installation.
Preliminary Design and Quotation
Based on the site survey and your needs, the company will start sketching out a preliminary design. This will include the type of hoist, its capacity, lifting height, and any specific modifications needed for your site. You’ll then receive a detailed quotation outlining the costs. This stage is also a good time to ask any lingering questions about the proposal.
When considering the installation process of goods hoists, it’s essential to understand how these systems can significantly improve operational efficiency in various settings. For a deeper insight into the advantages of advanced goods hoists, you can explore the related article on the potential benefits of these systems, which can be found here: Advanced Goods Hoists: Enhancing Operational Efficiency. This resource provides valuable information that complements the installation process and highlights the importance of selecting the right equipment for your needs.
Fabrication and Manufacturing: Building Your Hoist
Once you’ve agreed on the design and placed an order, the actual building of your hoist begins. This isn’t a quick process, and the lead times can vary.
Customization Based on Site Needs
Remember that site survey? This is where the customizations really come into play. If your site has unique dimensions or requires specific safety features, this is when they are engineered and built into your hoist.
Bespoke Platform Designs
Perhaps your materials are an awkward shape, or you need specific loading mechanisms. The platform can be tailored to these requirements, including dimensions, gates, and ramp compatibility.
Structural Adaptations
If the building structure needs reinforcement to support the hoist, this might be factored into the fabrication process, or they might specify what needs to be done on-site.
Quality Control During Manufacturing
Reputable hoist manufacturers have rigorous quality control processes. This ensures that every component meets safety standards and performs as expected.
Material Inspection
All raw materials used in the hoist’s construction are inspected for quality and compliance with relevant standards.
Component Testing
Individual components like motors, brakes, and control systems are tested before being assembled into the final hoist.
Pre-Assembly Checks
Before the hoist is even shipped, there might be a level of pre-assembly and testing to identify any potential issues early on.
Lead Times and Communication
It’s important to get a realistic timeframe for fabrication. This can range from a few weeks to a couple of months, depending on the complexity and the manufacturer’s workload. Good communication during this phase is key. You should expect updates on the progress of your hoist.
Site Preparation: Getting Your Location Ready
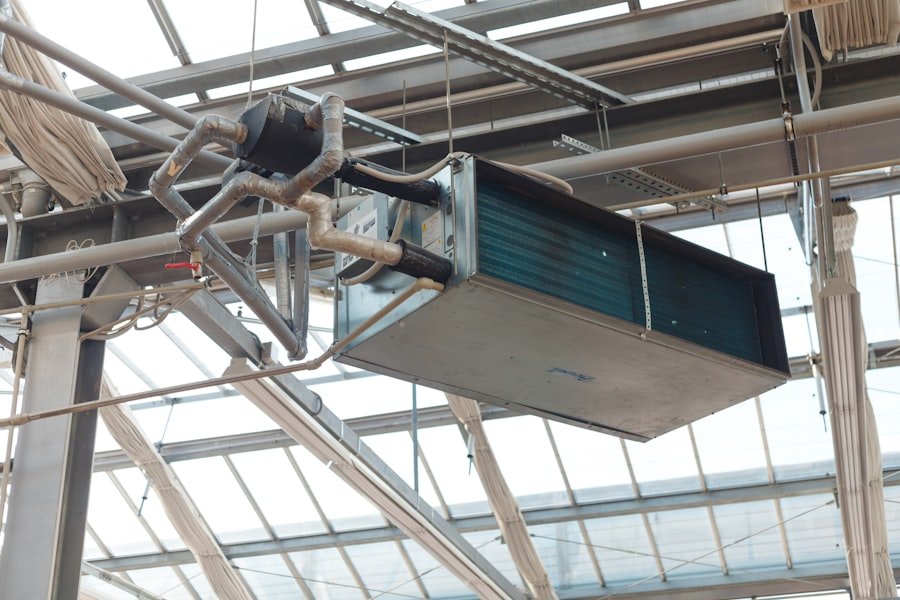
Before the installation team even arrives with the hoist, there’s a bit of work that needs to be done at your site. This is all about making sure the installation process goes smoothly and safely.
Structural Modifications (If Required)
Sometimes, the site survey reveals that the existing structure needs a little help to properly support the hoist.
Reinforcing Floor Slabs
If the hoist will be floor-mounted, the slab might need to be thickened or reinforced to handle the dynamic loads during operation.
Anchoring Points
Specific anchor points will need to be prepared in walls or overhead structures for securing the hoist’s mast and other components.
Creating Openings
If the hoist needs to pass through multiple floors, any necessary openings will need to be cut and made ready. This might involve coordinating with other trades.
Power and Electrical Work
The hoist needs power, and it needs the right kind of power.
Dedicated Power Supply
Often, goods hoists require a dedicated power circuit to prevent interference with other equipment and ensure reliable operation.
Cable Routing
The electrical cables need to be routed from the power source to the hoist’s location. This might involve trenching, conduit installation, or running cables along existing structures.
Control Panel Installation
The hoist’s control panel will need to be mounted in a convenient and safe location, and its wiring needs to be completed.
Access and Staging Areas
The installation crew and the hoist components need somewhere to go.
Clear Access Routes
Ensure that the path from where the hoist will be delivered to its final installation point is clear and unobstructed.
Staging Area for Equipment
You’ll need to provide a safe and secure area where the installation team can stage their tools, equipment, and the various parts of the hoist before assembly.
Safety Barriers
Depending on the location, you might need to set up temporary safety barriers to keep your own personnel away from the work area during installation.
Sure, here is the sentence with the clickable link:
I found a reliable supplier for goods hoist at Goods Hoist Malaysia Supplier.
The Installation Process: Bringing It All Together
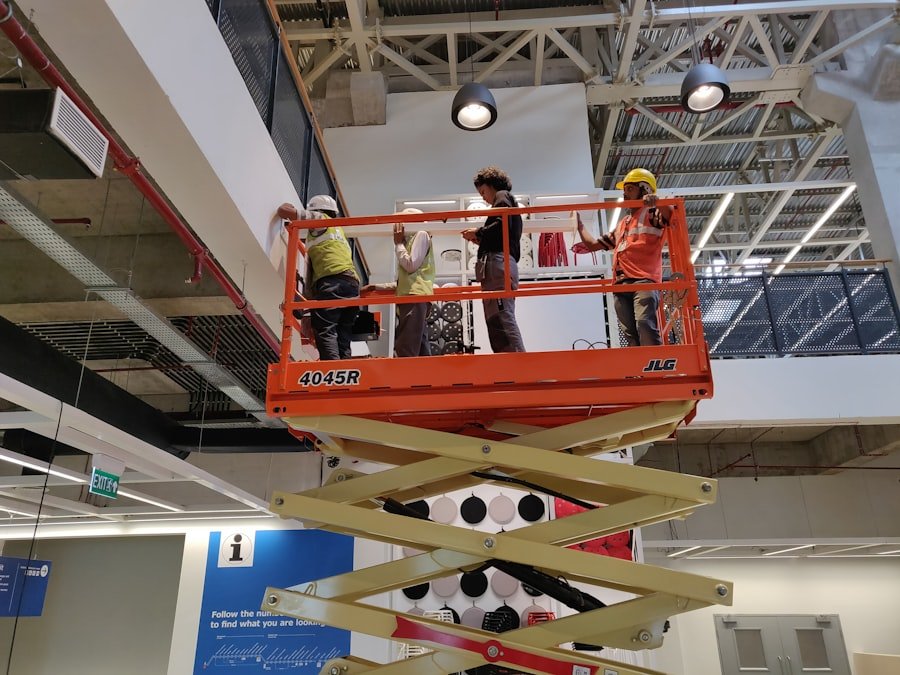
This is the core of the operation – when your goods hoist actually gets built and fitted. It requires skilled technicians and a well-coordinated effort.
Delivery and Unloading
The hoist components will be delivered to your site, often in sections. The delivery vehicle needs to be able to access your site, and there will be a careful unloading process.
Rigging and Lifting
Depending on the size and weight of the components, cranes or other specialized lifting equipment might be used for unloading.
Staging Components
Once unloaded, the parts will be carefully staged in the designated area, ready for assembly.
Assembly and Erection
This is the most hands-on part. The hoist is put together piece by piece.
Mast Erection
The main vertical structure, or mast, is erected first. This often involves lifting sections and bolting them together securely.
Platform Assembly
The lifting platform is then integrated into the mast structure. This includes attaching the guide rails and the drive mechanism.
Drive System Installation
The motor, gearbox, and braking system are installed and connected. This is a critical step for the hoist’s operation and safety.
Electrical Wiring
The electrical system is connected, linking the motor, controls, and safety interlocks.
Testing and Commissioning
Once assembled, the hoist isn’t just switched on and left to run. There’s a thorough testing and commissioning phase.
Pre-Operational Checks
Before any lifting occurs, a comprehensive checklist is run through to ensure all connections are secure, all safety devices are functioning, and the system is ready.
Load Testing
The hoist will be tested with various loads, up to its rated capacity, to ensure it operates smoothly and safely under different conditions.
Safety Feature Verification
All safety features, such as limit switches, emergency stops, and interlocks, are rigorously tested to confirm they function correctly.
Fine-Tuning Adjustments
Minor adjustments may be made to ensure optimal performance, such as calibrating sensors or fine-tuning the braking system.
When considering the goods hoist installation process, it’s essential to understand the various factors that can influence the project timeline and efficiency. A related article that provides valuable insights into the policies and standards governing such installations can be found at USP Corporations. This resource offers guidance on compliance and best practices, ensuring that your installation meets all necessary regulations and operates smoothly.
Post-Installation: What Happens Next
The hoist is up, it’s running, but you’re not quite done yet. There are a few important steps to wrap things up and ensure ongoing smooth operation.
Handover and Training
This is where you get familiar with your new equipment.
Operator Training
The installation team will provide training for the individuals who will be operating the hoist. This covers safe operation, basic troubleshooting, and emergency procedures.
Maintenance Overview
You’ll receive guidance on routine maintenance requirements, including lubrication, visual inspections, and scheduled servicing.
Documentation and Manuals
You’ll be given all the necessary documentation, including operation manuals, maintenance logs, and warranty information.
Final Inspections and Sign-off
There might be a final inspection by the installation company or even a third-party inspector, depending on local regulations.
Completion Certificate
Once everything is deemed satisfactory, you’ll typically sign off on the installation, confirming that the work has been completed to your satisfaction.
Compliance Checks
Ensure that the installation meets all relevant local building codes and safety regulations.
Ongoing Maintenance and Support
This isn’t a “set it and forget it” piece of equipment.
Scheduled Servicing
To keep your hoist running reliably and safely, regular scheduled maintenance is essential. This is usually done by the manufacturer or an authorized service provider.
Breakdown Support
Understand what kind of support is available should your hoist experience a malfunction. Knowing the response times and service options is important.
Spare Parts Availability
It’s good practice to know that spare parts are readily available for your specific hoist model, especially for critical components.
Future Considerations
Think about the long-term relationship.
Service Contracts
Consider if a service contract would be beneficial. These often include scheduled maintenance, priority call-outs, and sometimes even parts coverage.
Potential Upgrades
As your needs evolve, there might be opportunities for future upgrades or modifications to your hoist system.
Getting a goods hoist installed is a significant project, but by understanding these steps, you can approach it with confidence. It’s a collaborative effort between you and the installation team, all working towards a safe and efficient solution for your material handling needs.
FAQs
1. What is a goods hoist installation process?
The goods hoist installation process involves the setting up and installation of a vertical lifting platform used for transporting goods and materials between different levels of a building.
2. What are the key steps involved in the goods hoist installation process?
The key steps in the goods hoist installation process typically include site assessment, design and planning, equipment selection, installation, testing, and commissioning.
3. What factors should be considered during the goods hoist installation process?
During the goods hoist installation process, factors such as building regulations, safety standards, load capacity requirements, space availability, and power supply need to be carefully considered.
4. How long does the goods hoist installation process typically take?
The duration of the goods hoist installation process can vary depending on factors such as the size of the hoist, site conditions, and any custom requirements. However, it generally takes several weeks to complete.
5. What should one expect during the goods hoist installation process?
During the goods hoist installation process, one can expect thorough site assessments, coordination with relevant stakeholders, adherence to safety regulations, skilled labor for installation, and comprehensive testing and commissioning procedures.